Just got yourself a new Apple Watch? Here are five fun things to try.
5 things you didn’t know your Apple Watch could do
Watches have come a long way in the last decade or so. It’s gotten to the point where telling the time is kind of an afterthought. If it can’t track my sleep, tell me my heart rate and remind me to get off my lazy butt every hour, I don’t want a bar of it.
Thankfully, I have an Apple Watch, which does all that and more. But even if you’ve been slaving over those rings for years, chances are there’s more than a couple of cool features you’ve forgotten about or simply never knew existed.
So, without further ado, here are five things you didn’t know your Apple Watch could do.
1. Take an ECG
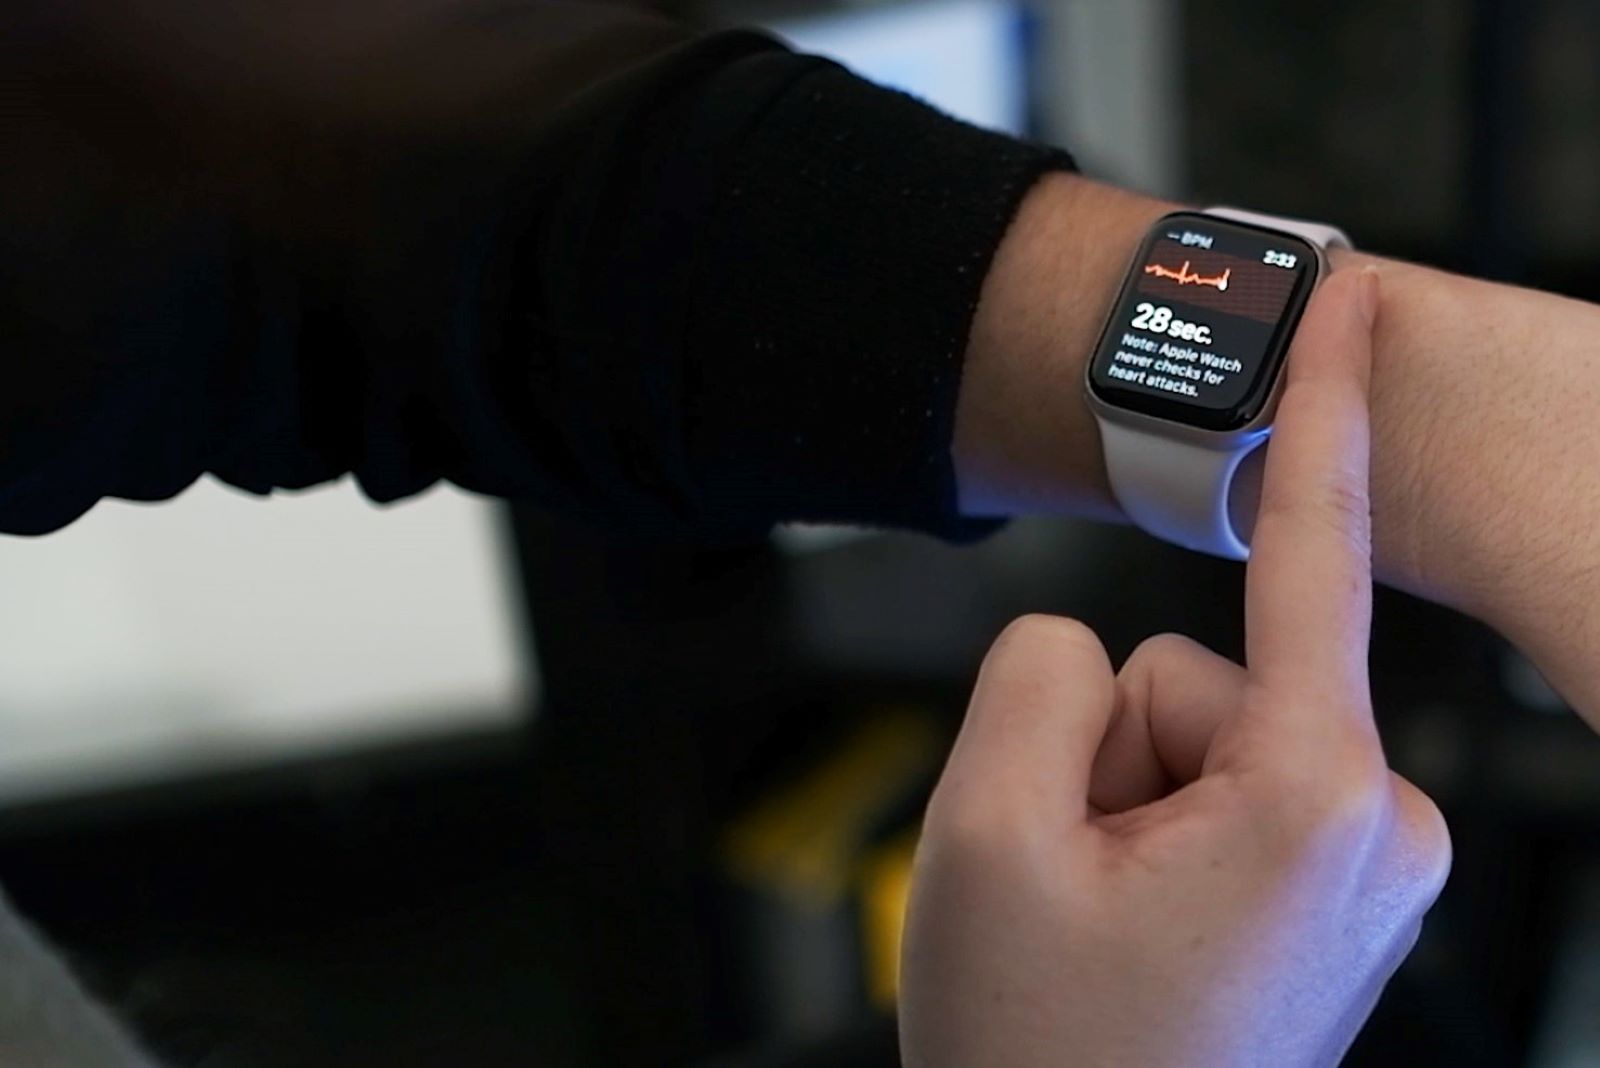
Ok, you may already know about this one, but we’re including it anyway because it only recently became available to Aussie users. If you’ve got an Apple Watch Series 4, 5 or 6 running the latest version of watchOS, you can take ECGs (or electrocardiograms) through the ECG app. It’s kind of a portable version of the machine doctors use to measure your heart rhythm and detect any irregularities. Simply hold your finger against the digital crown for 30 seconds, and voila! As far as this thing is concerned, I am not having a heart attack, which is nice.
2. Set a GIF as your watch face
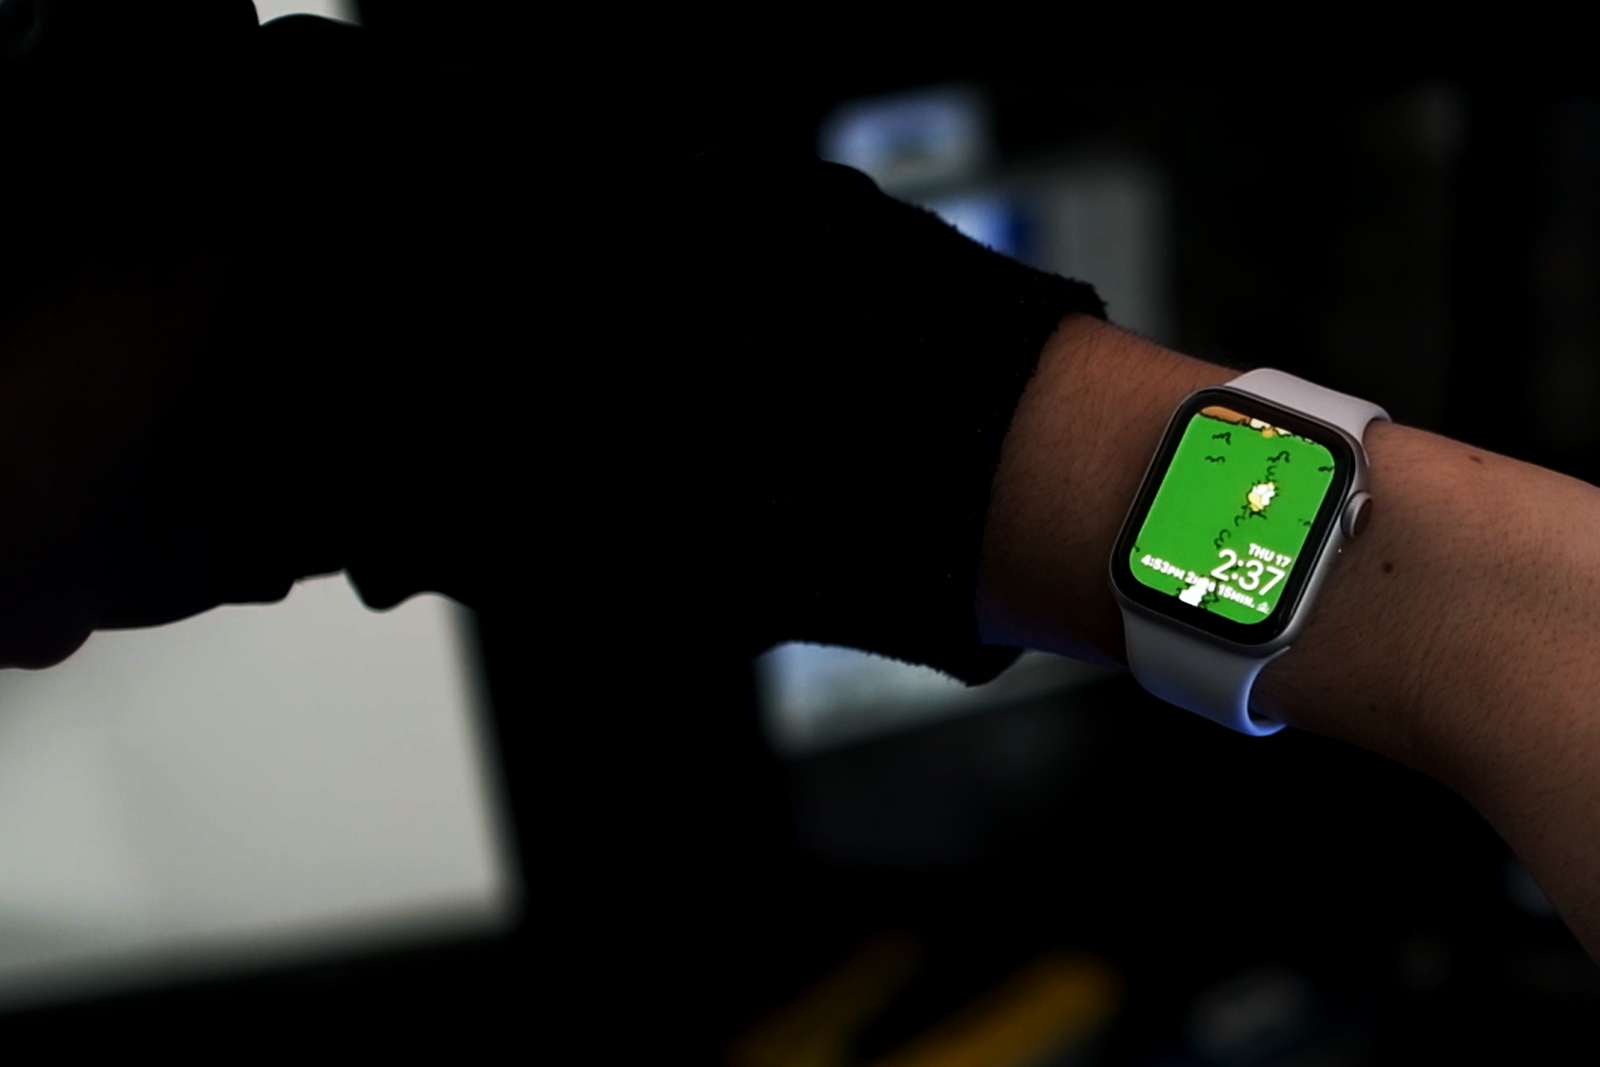
Sick of staring at rings or boring photos of loved ones? Why not replace it with a GIF of Homer Simpson backing into a hedge? The process is pretty simple. Just download the GIPHY app, pick a gif, convert it to a Live Photo and save it to your Photos app. In Photos, edit it to make the last frame the Key Photo. You only have a few frames to work with, so try and keep it really short. From there, go to the Face Gallery in your Watch app, select “Photos”, then select your Live Photo, hit “add”, and you’re done!
3. Take a screenshot
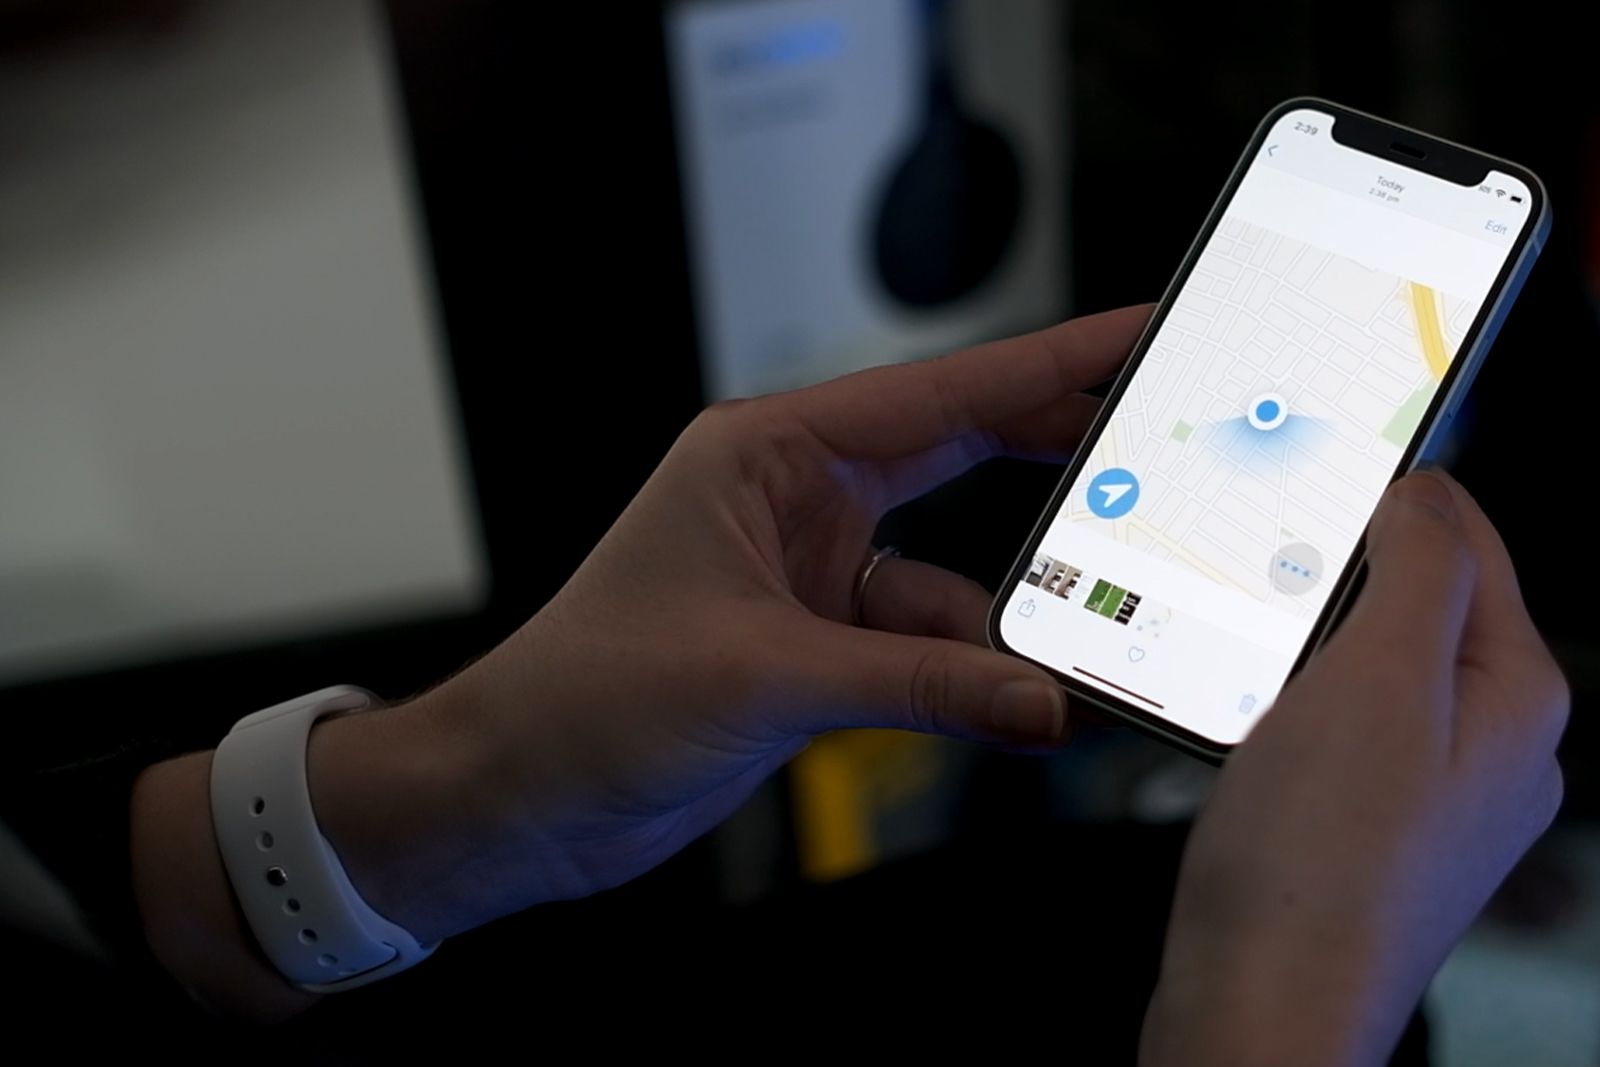
If you ever want to show off your workout to your non-Apple user plebs - I mean, friends - you can take a screenshot. First, you’ll need to go into the Watch app on your iPhone, then “General”, then toggle “Enable Screenshots” on. Then, all you have to do is press the digital crown and the side button at the same time. The screen will flash and you’ll be able to see the screenshot in your Photos. Too easy.
4. Use your watch as a viewfinder
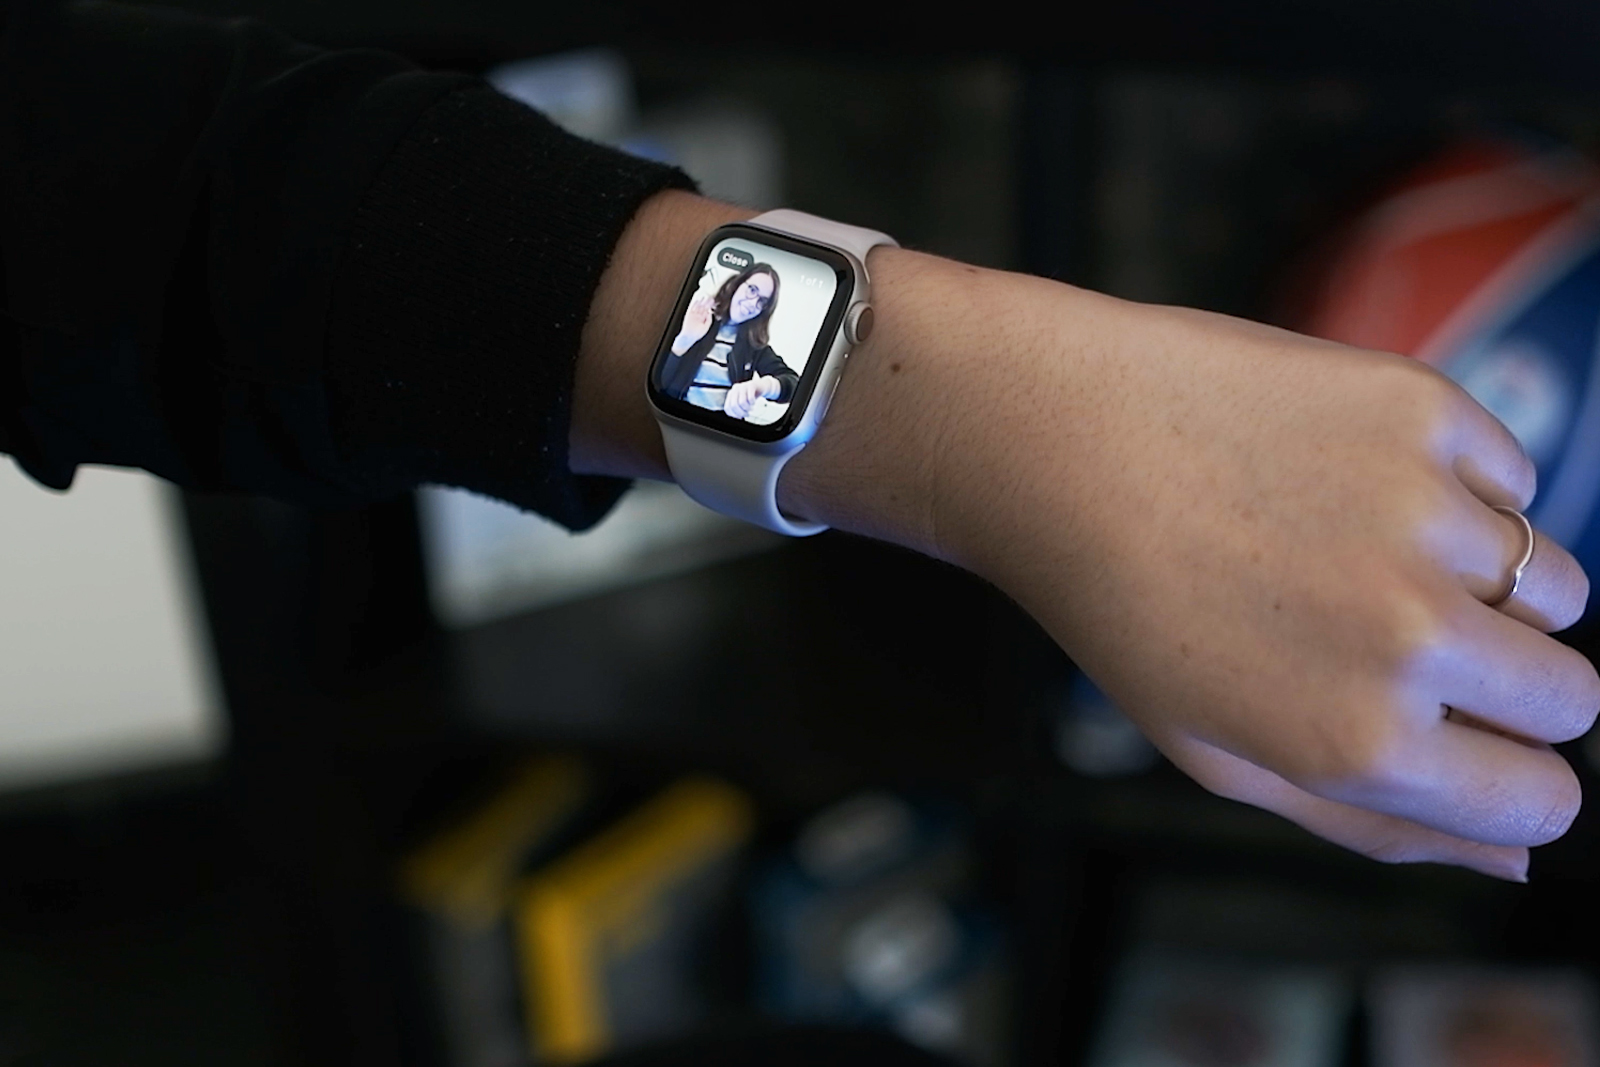
Forget trying to squeeze all your mates into a single selfie. Instead, you can make the most of your iPhone’s superior rear lenses by propping it up and using your Apple Watch as a remote control. You’ll be able to check yourself out on the screen of your Apple Watch before hitting the countdown timer, as well as zoom in or out, turn the flash on or off, and use the front or rear camera.
5. Make an intercom announcement
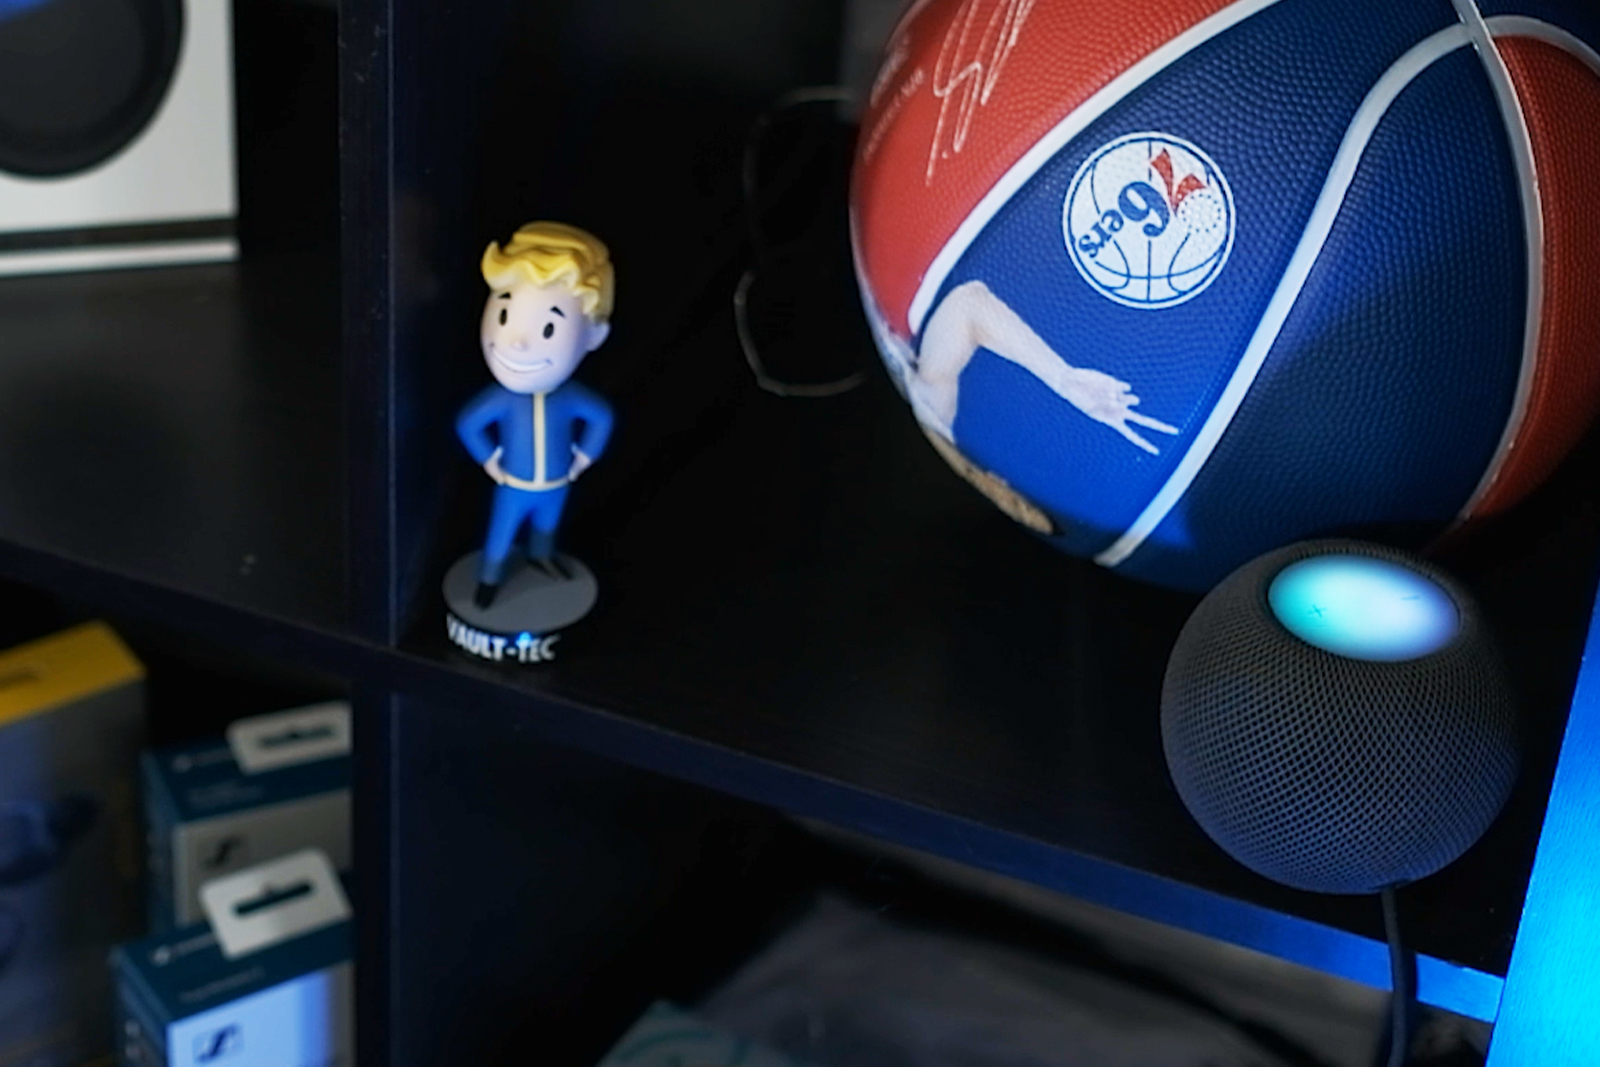
This one only works if you have at least one HomePod or HomePod Mini, but it’s so cool we had to include it anyway. Say you’re stopping by the shops on your way home from work and want to check if anyone at home needs anything. Simply ask a question prefaced by “intercom” into your watch and it’ll deliver your message directly to your HomePod.
You can also intercom individual people, or even the whole house.
And there you have it. Go forth and screenshot, ECG and intercom to your heart’s content.
Related Articles


