Cancelling your Binge subscription is a few clicks or taps away.
How to cancel Binge

Important notice about content on Binge
As of the 1st of April 2025, Warner Bros. Discovery has begun moving its HBO content from Binge and Foxtel to its new streaming service Max. We're in the process of updating our Binge guides on site but in the meantime, please note that most HBO content will be exclusive to Max moving forward.
Maybe your 7-day Binge trial is about to end or perhaps you’ve discovered that you haven’t really been using yet another streaming service. Whatever the reason, there’s a few simple steps you can follow to cancel your Binge subscription.
If you’re already signed in to Binge, you can cancel Binge directly from this link. If not, read on.
How to cancel Binge: Step by step
- Visit www.binge.com.au
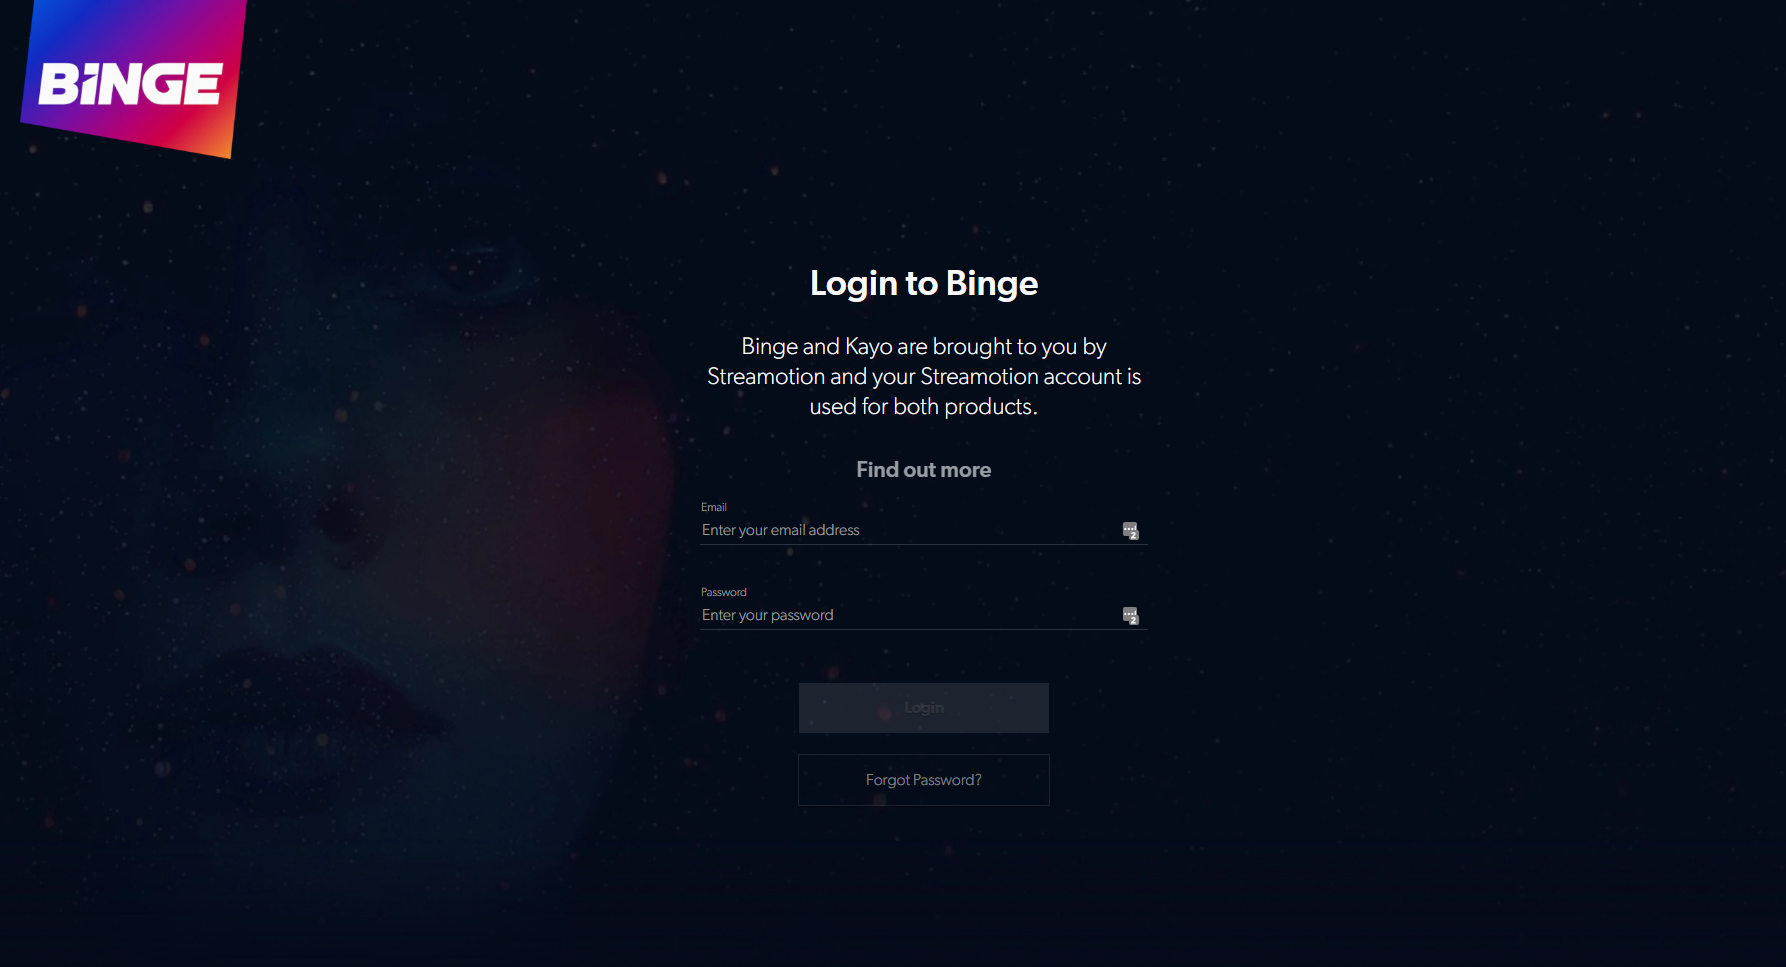
- Log in with your Binge username and password
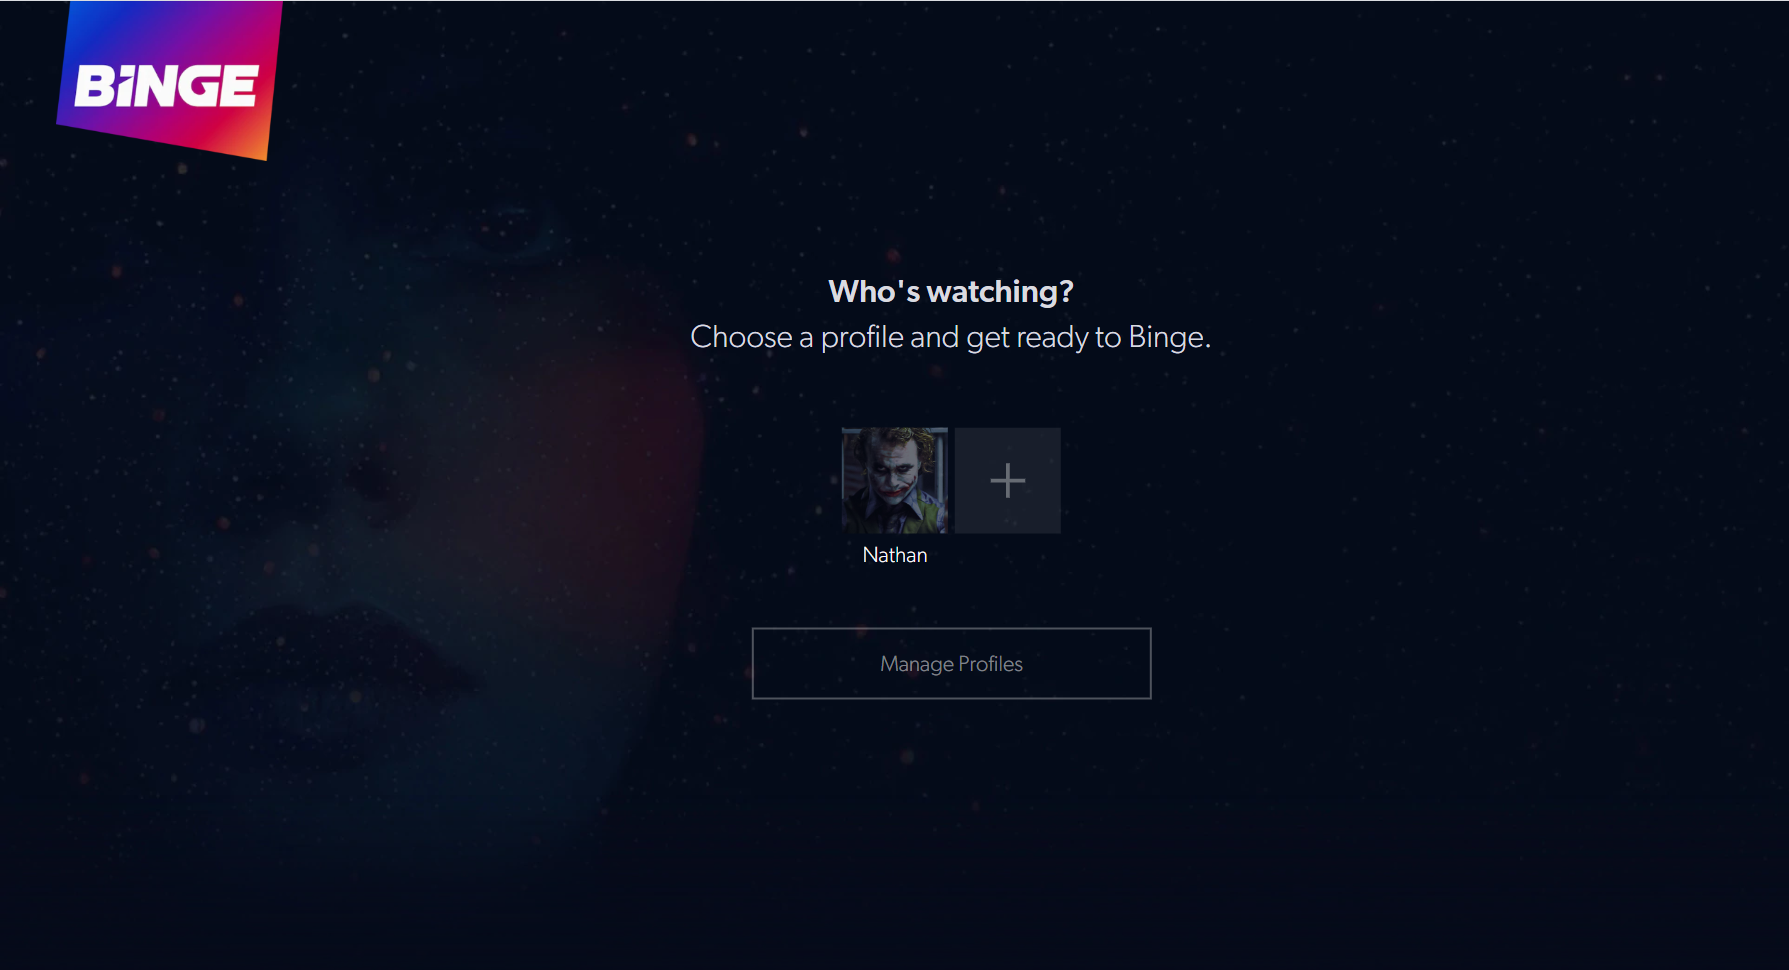
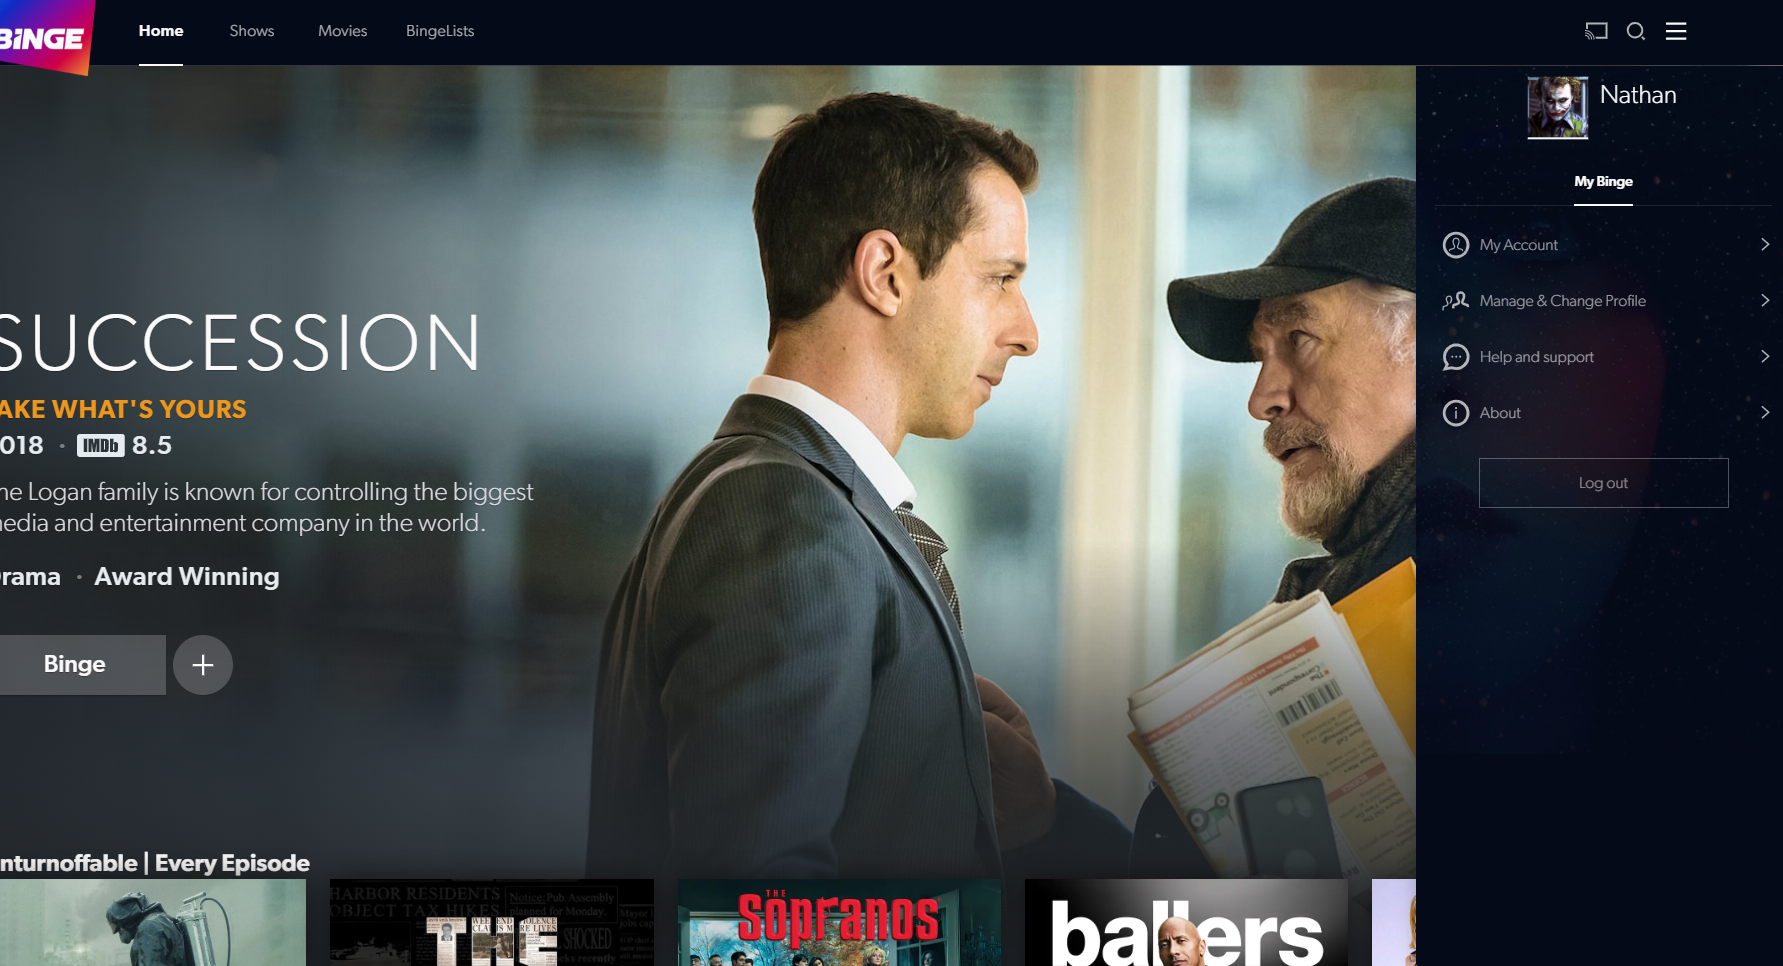
- Select your profile
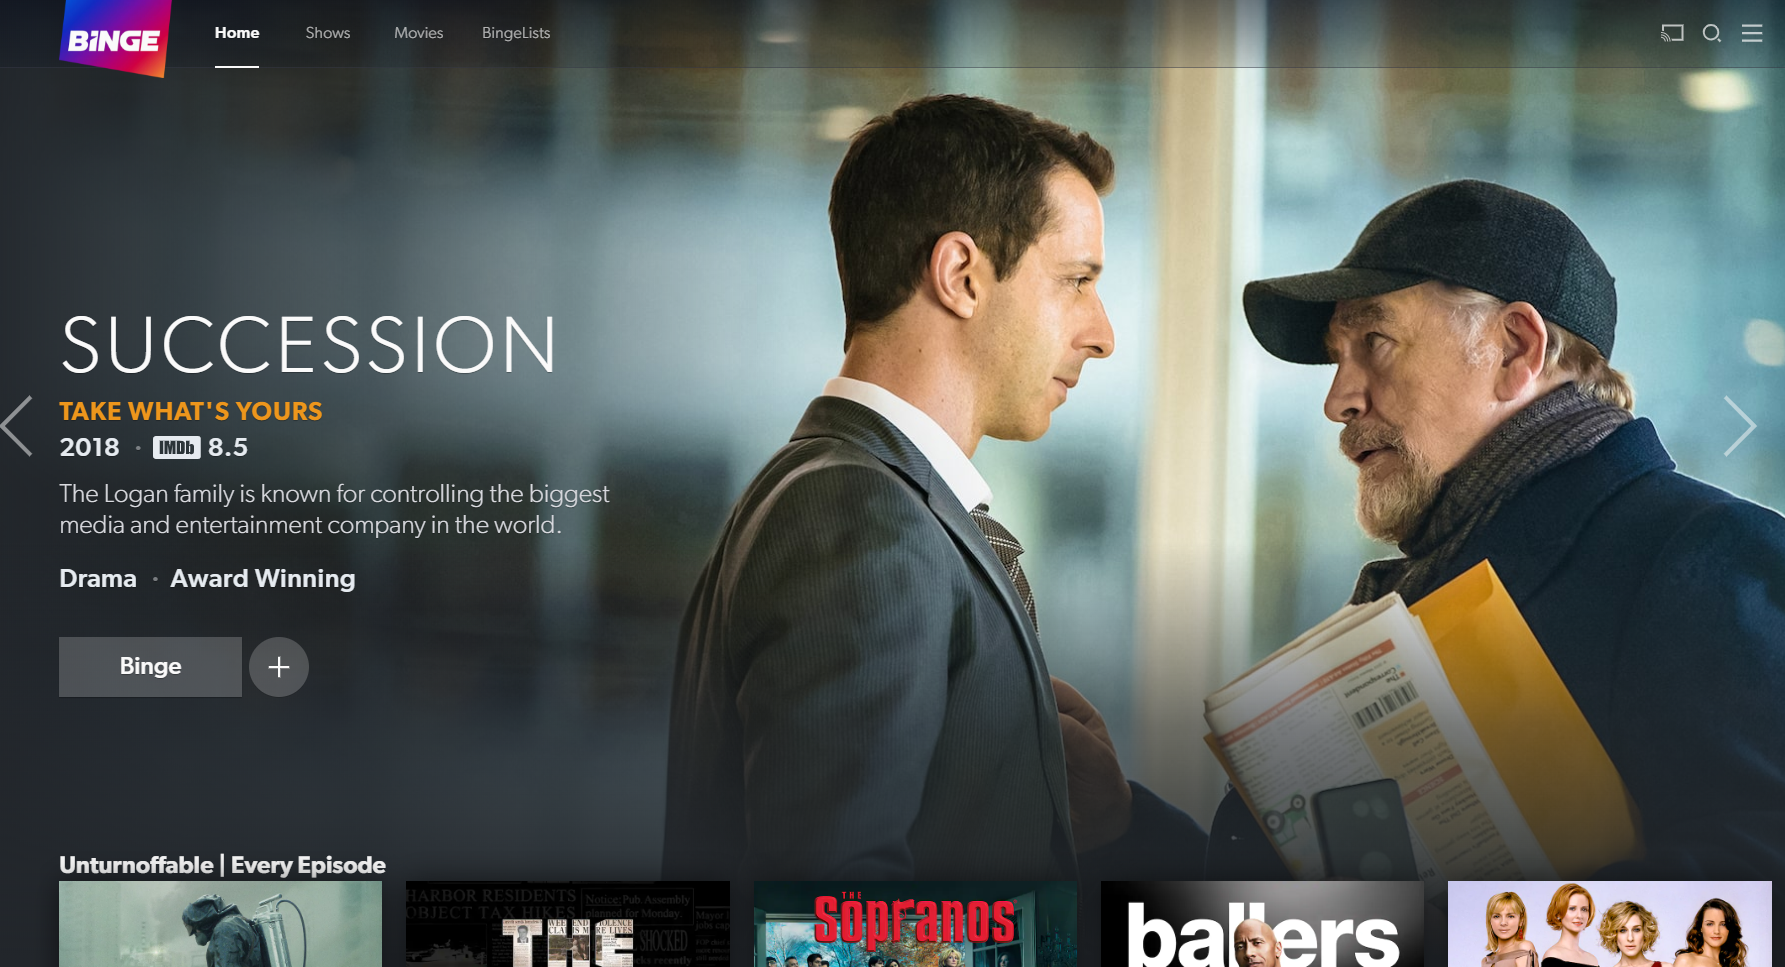
- Click on the three horizontal bars in the top right
- Select ‘My Account’ from the menu
- Select ‘Cancel Subscription’
- Select ‘I agree’
Log in to Binge with your username and password
Step 3
Select your profile (this should be the primary profile associated with billing)
Step 4
Click or tap on the three horizontal bars in the top right of the Binge window
Step 5
Click or tap on the first ‘My Account’ option under ‘My Binge’
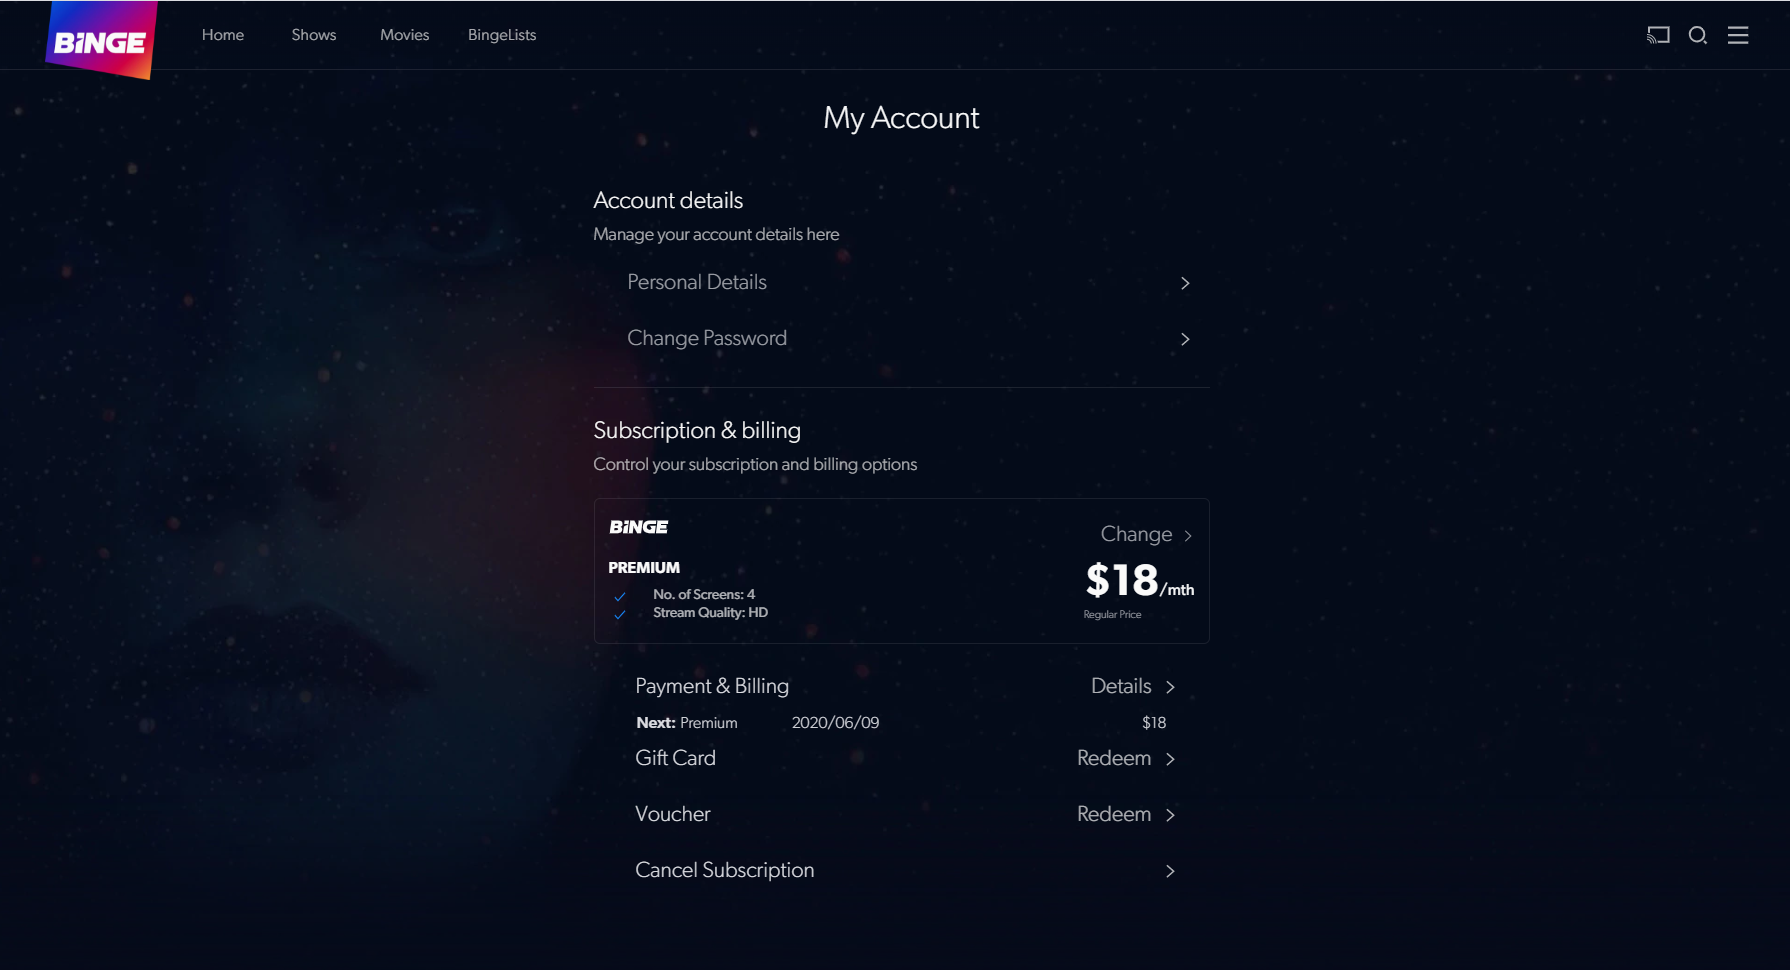
Step 6
Click or tap on ‘Cancel Subscription’ at the bottom o the ‘My Account’ page
Step 7
Click or tap on ‘I agree’ to confirm cancellation of your Binge subscription
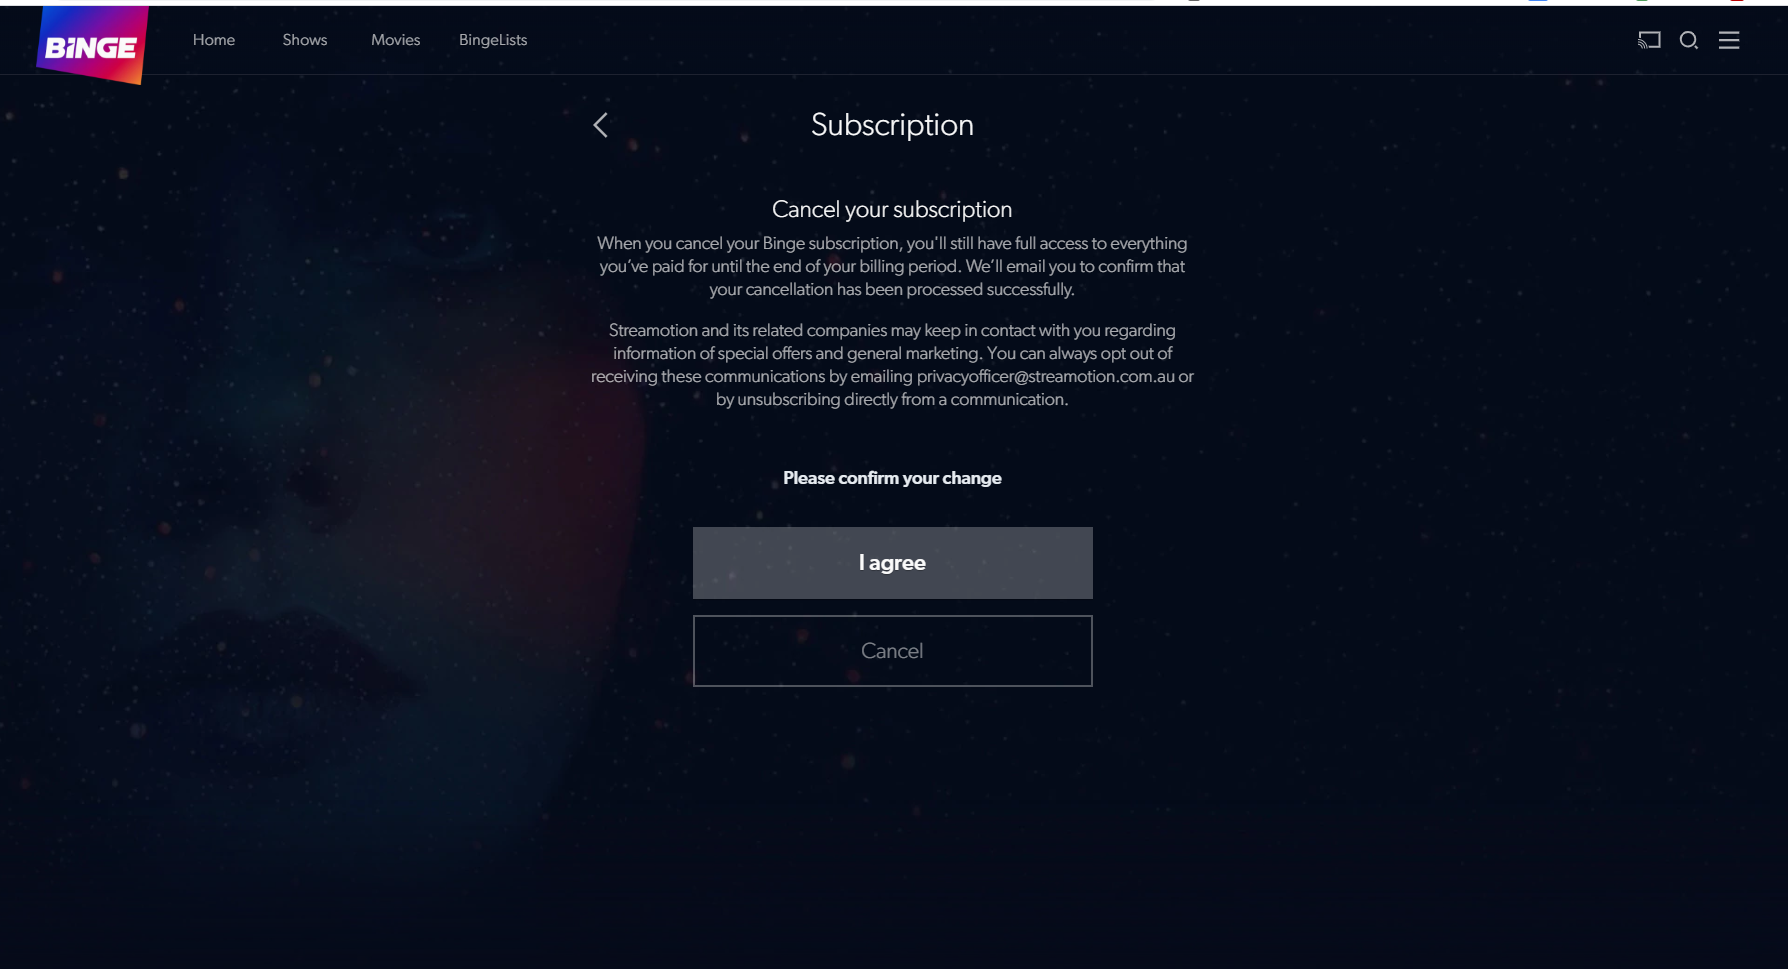
From here, there’s a short survey to ask why you’re leaving Binge, then a cancellation notification will be sent to your account email address. You’ll still have access to Binge until the end of your billing period.
How to cancel Binge via the App Store
If you signed up for Binge via the Apple App Store, Binge support advises you cancel at least 24 hours before your subscription renewal date, assumedly, to ensure you don’t get charged for another month.
The cancellation steps via the App Store are different:
- Open the App Store
- Sign in with your Apple ID
- Select the ‘Account Profile’ icon
- Choose ‘Manage Subscriptions’
- Select the Binge app for the list of active App Store subscriptions
- Choose the ‘Cancel Subscription’ option
There are punchier alternative steps for cancelling Binge via the App Store:
- Go to settings
- Select your name or Apple ID page
- Choose ‘Subscriptions’
- Select Binge
- Choose the ‘Cancel Subscription’ option
How to reactivate your Binge subscription
If you change your mind about cancelling, you’ll still have the rest of the billing month to watch Binge content. After this time passes, simply follow the first five cancellation steps at the top of this page, then select the ‘Reactivate Subscription’ option.
Related Articles
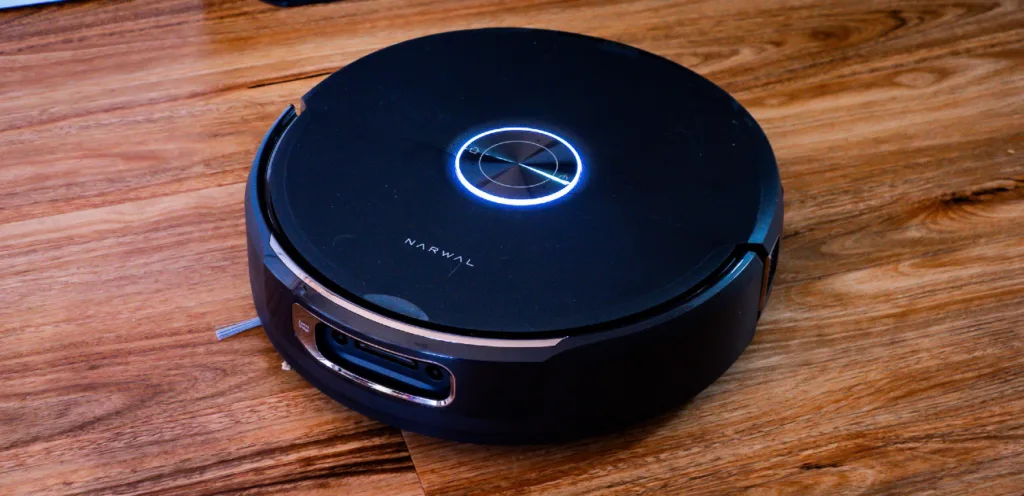
Narwal Flow 2 review: Crossing the threshold
A feature-rich robovac with an exxy price-tag and excellent performance.
Lenovo Legion Tab 5 (2026) review
Lenovo's gaming tablet gets the job done.

Samsung Galaxy Buds 4 Pro review: Fourth time’s the charm
These premium earbuds make the most of easy wins and good noise cancellation.